Setup and configuration
Logging in
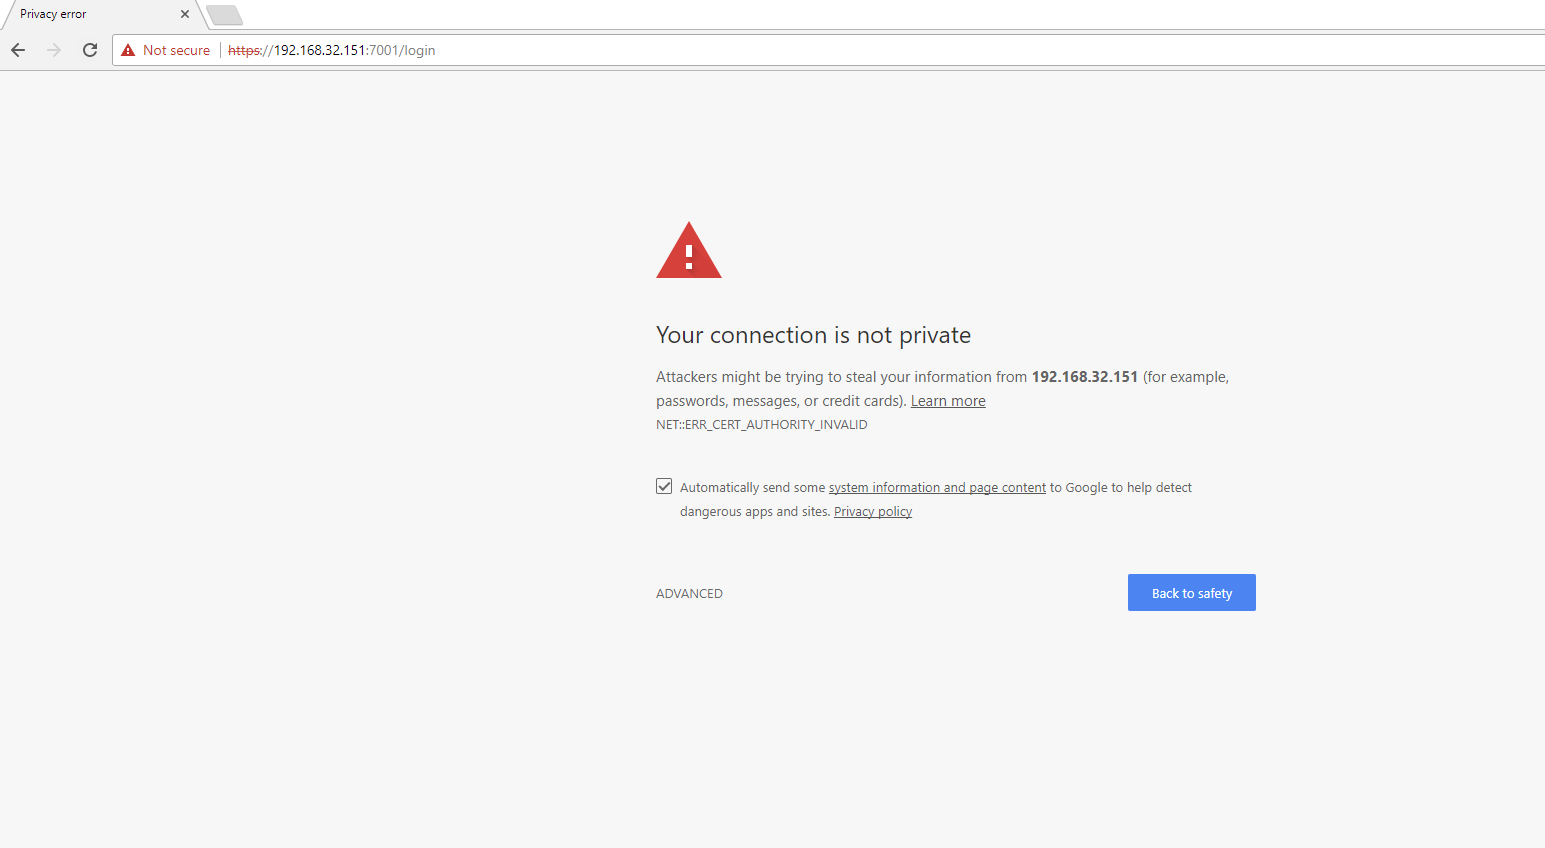
Connect to the server with a web browser
By default the server runs on a port 7001, and requires SSL. You can access the server using https://hostname:7001
Adding / Managing network (IP) cameras
This section covers adding and managing analog cameras. A Bluecherry hardware compression card is required for use with analog cameras and our software.
Tip
It is recommended that you change the ‘List Source’ from ‘Local’ to ‘Live’ in General Settings -> Performance/connectivity. This will allow you to recieve the last list of manufacturers and model numbers.
** image:: img/list-source.png
Manually adding network (IP) cameras
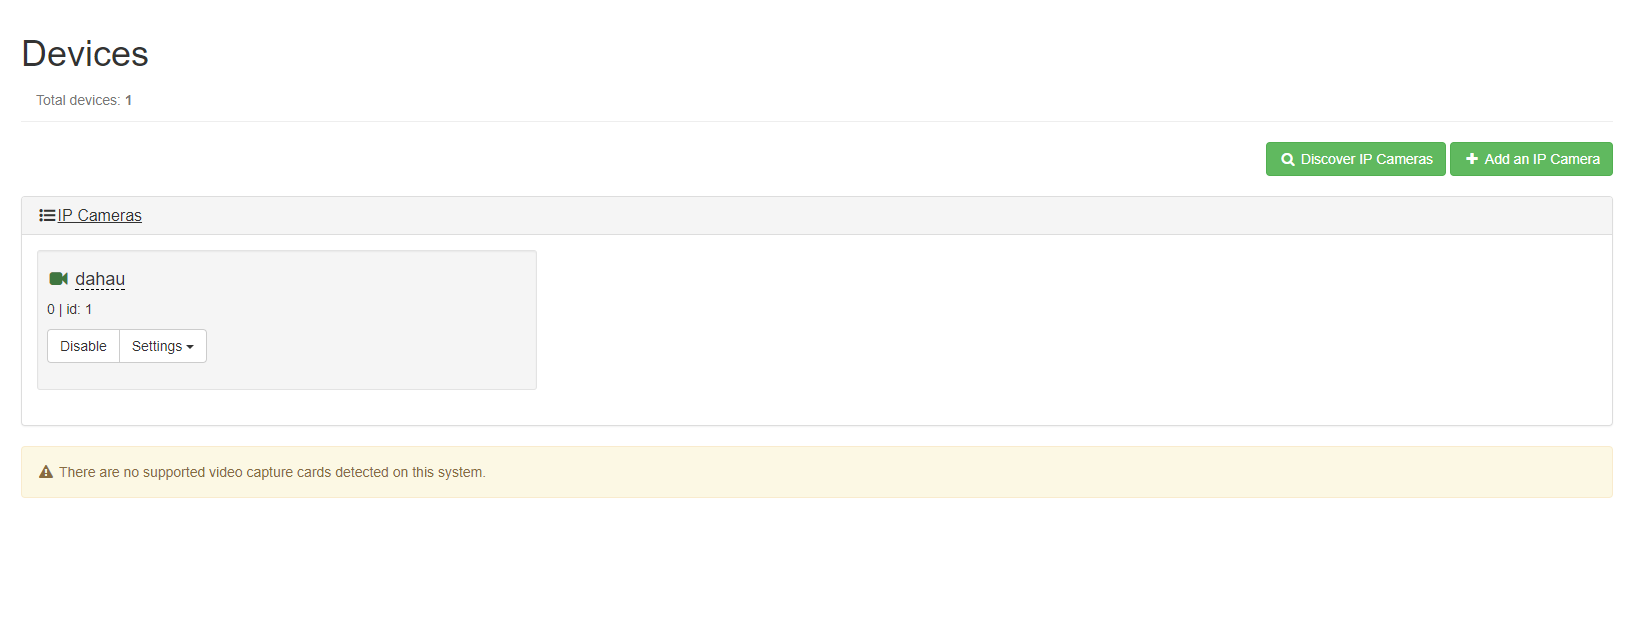
Select Devices from the menu

By default the ‘IP Cameras’ section is minimized.
Tip
Always make sure your IP cameras are set to a static IP. If the IP camera is setup with dynamic (DHCP) and the IP address changes Bluecherry will not be able to connect to the IP camera.
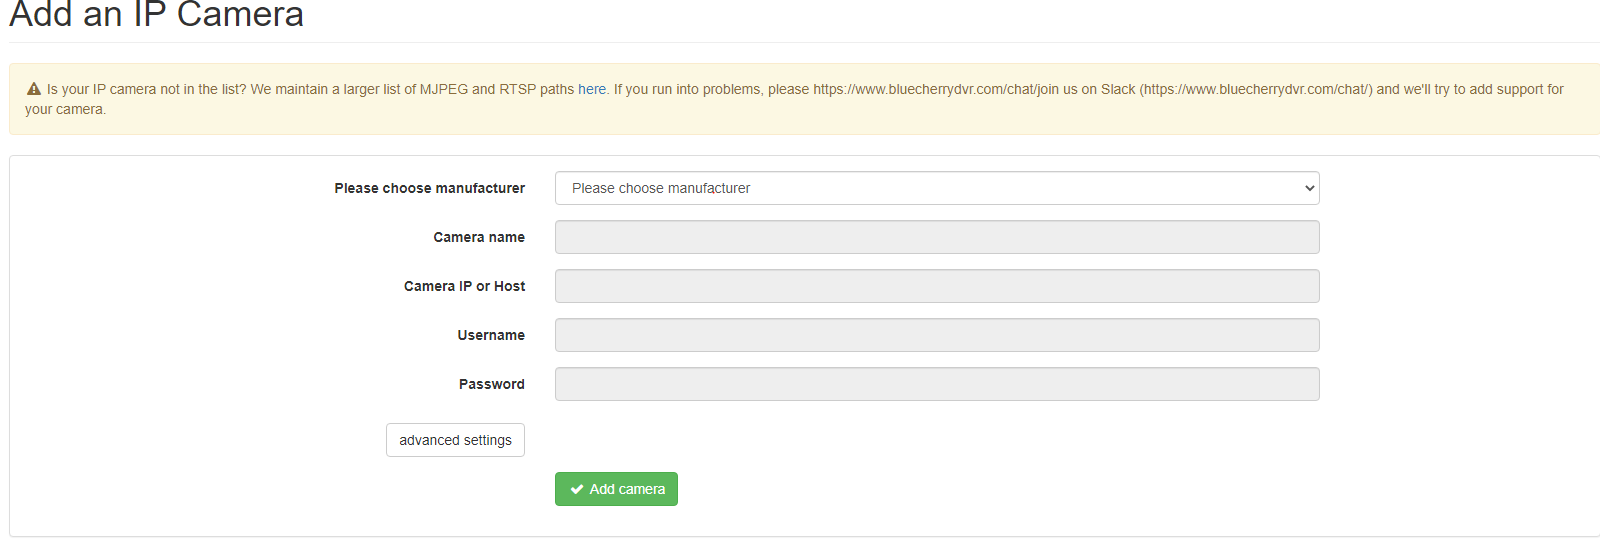
Devices -> Add an IP cameras
** image:: img/ipcamera-manual-add.png
If you already know the RTSP path you can select ‘Generic’ and update the Camera name (used in Bluecherry to show events), Camera IP or host, Username, Password.
Video source stream should always be RTSP, only use MJPEG if you know for sure what you are doing. Path to RTSP. This should always have a forward slash (/) followed by the RTSP path for the model of your IP camera (example - /media/video). A quick Google search can usually provide you the RTSP path, or use the manufacturer list above to try to populate this for you. RTSP port. Most IP camera manufacturers, with the exception of ACTi and some Hikvision cameras, use the default port of 554. Transport. Usually this is TCP, some manufacturers like ACTi use RTSP over UDP. ONVIF port. Defaults to port 80, currently not used by Bluecherry and added for future releases.
Once this you’ve completed this section click Add camera then test your configuration in the Bluecherry client or Bluecherry web interface. Optionally you can look at /var/log/bluecherry.log to see if the IP camera was successfully connected to by Bluecherry.
Automatic discovery of IP cameras
Select Devices from the menu

By default the ‘IP Cameras’ section is minimized.

Warning
Currently this is still in development and may not work as expected and can take up to two minutes to run.
Devices -> Discover IP Cameras -> Find cameras
A list of the IP addresses and model numbers (if available) will be listed of any device that Bluecherry can autodetect. If your IP camera is NOT in this list then follow the Manually adding network (IP) cameras section.
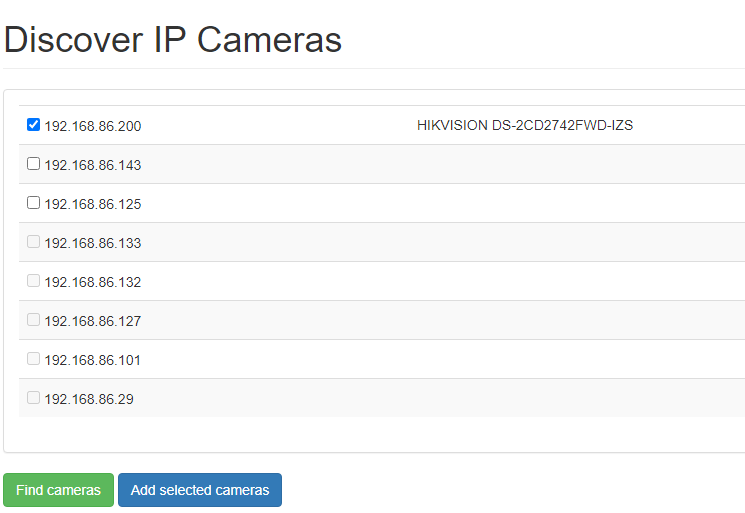
Click on the checkbox next to the camera you wish to add then click ‘Add camera’

Complete the login and password for the camera then click ‘Add selected camera’
Once this you’ve completed this section click Add camera then test your configuration in the Bluecherry client or Bluecherry web interface. Optionally you can look at /var/log/bluecherry.log to see if the IP camera was successfully connected to by Bluecherry.
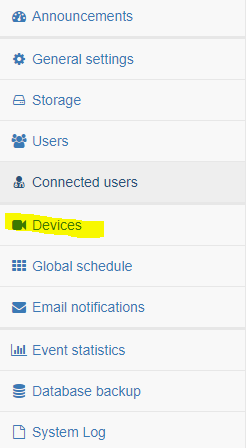
Recording schedules
We support two types of schedules. The first is a global schedule and the second is a per-camera schedule. Both are covered below

Global schedule
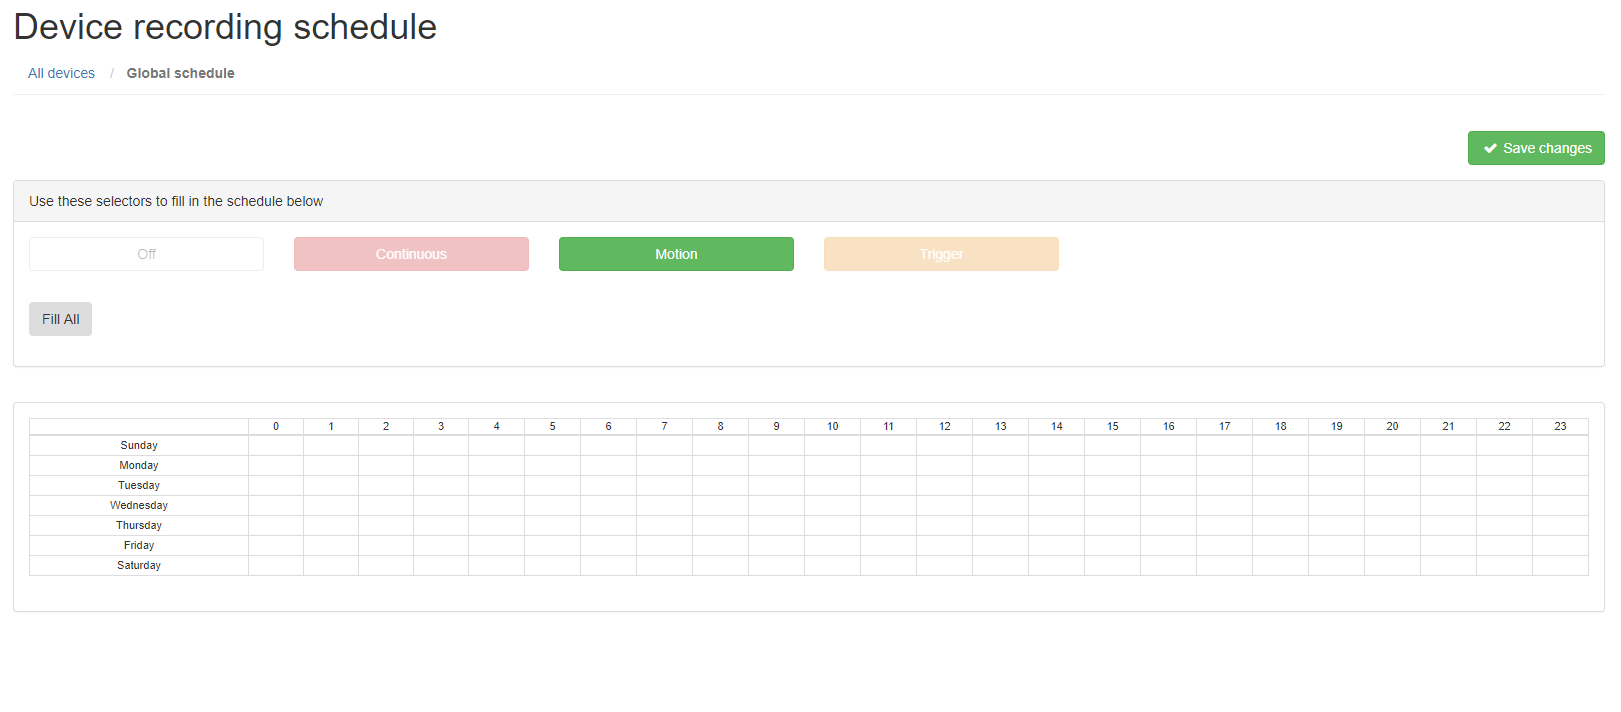
Select ‘Motion’ and then select all the grid locations (Assuming that you want motion detection 24×7×7).
Per-camera schedule
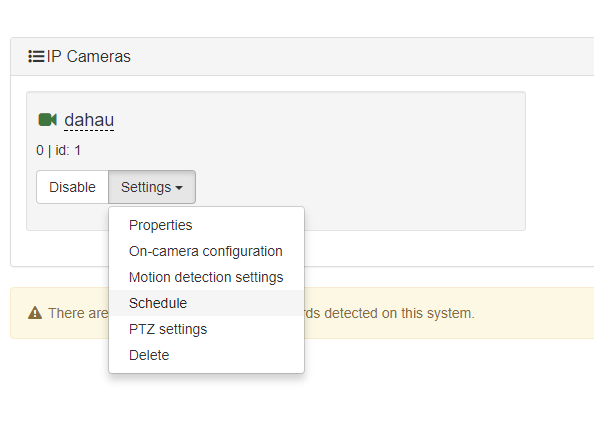
Under the Devices tab, select ‘Schedule’ under each camera that you want to enable a camera specific scheduled recording.
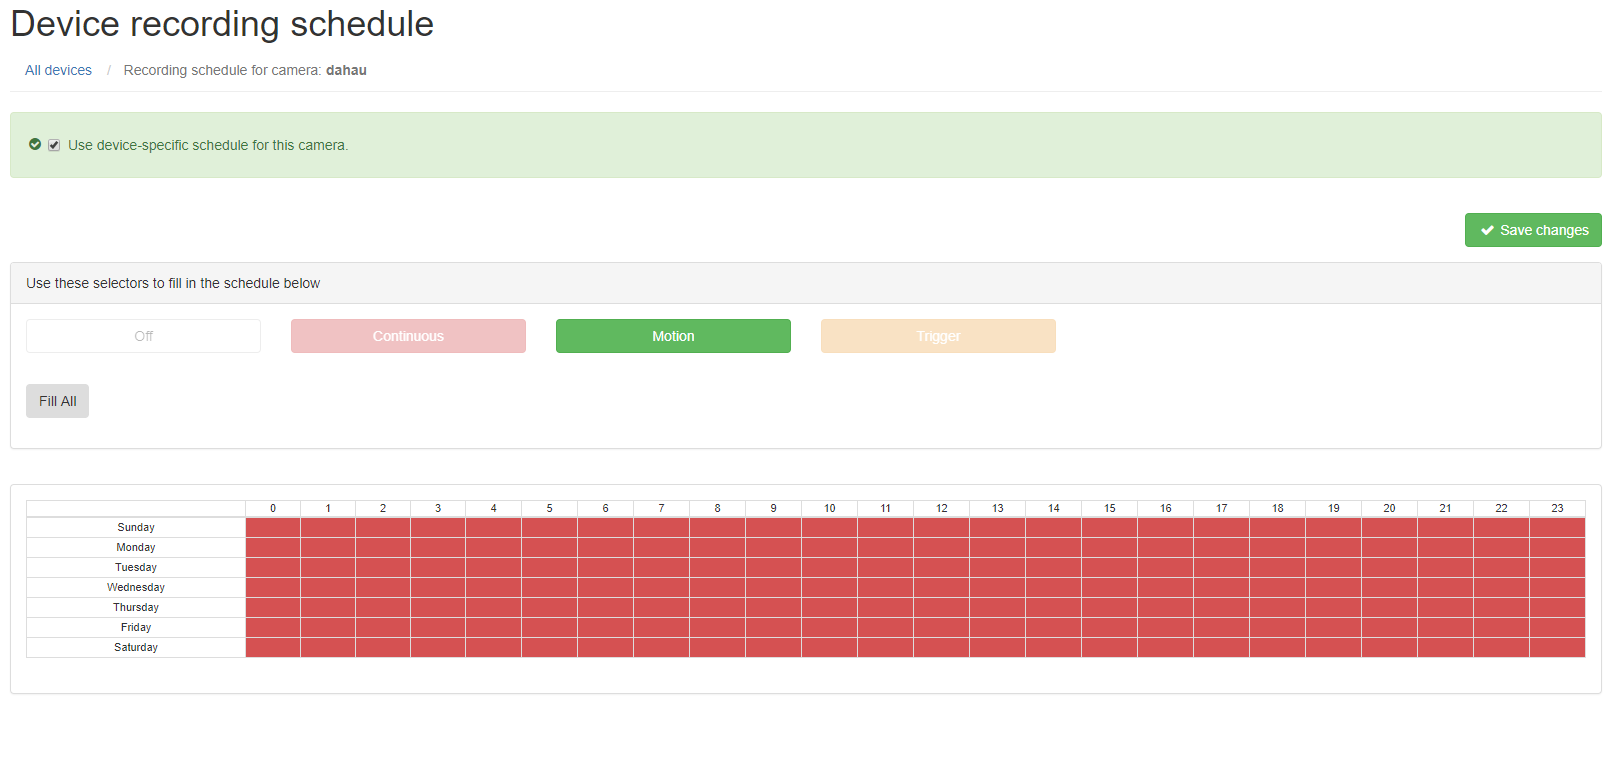
Select the checkbox for ‘Use device-specific schedule for this camera’ and select the type of recording schedule you want and click ‘Save changes’
Adding users

Select ‘Create New User’ to add a new user to the DVR system

Complete the form with the user specific information. It’s usually recommended to have two administrator accounts, in case one user is delete or the password is forgotten.
Editing / viewing users
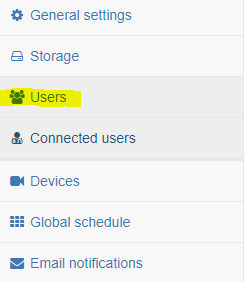

Click on user’s Full Name. Note: To prevent you from accidently removing yourself it is not possible for you to remove the account you are logged in as.

You can the option to change any of the fields above, including the password. You can also add specific restrictions on what the user has access to. The notes section lets you add user specific notes.
Restrict cameras per user
Restricting access on a per-user basis

From the ‘Users’ section click on any of the names in the list. For this example, we are going to pick on Joe Blow, who we do not trust.
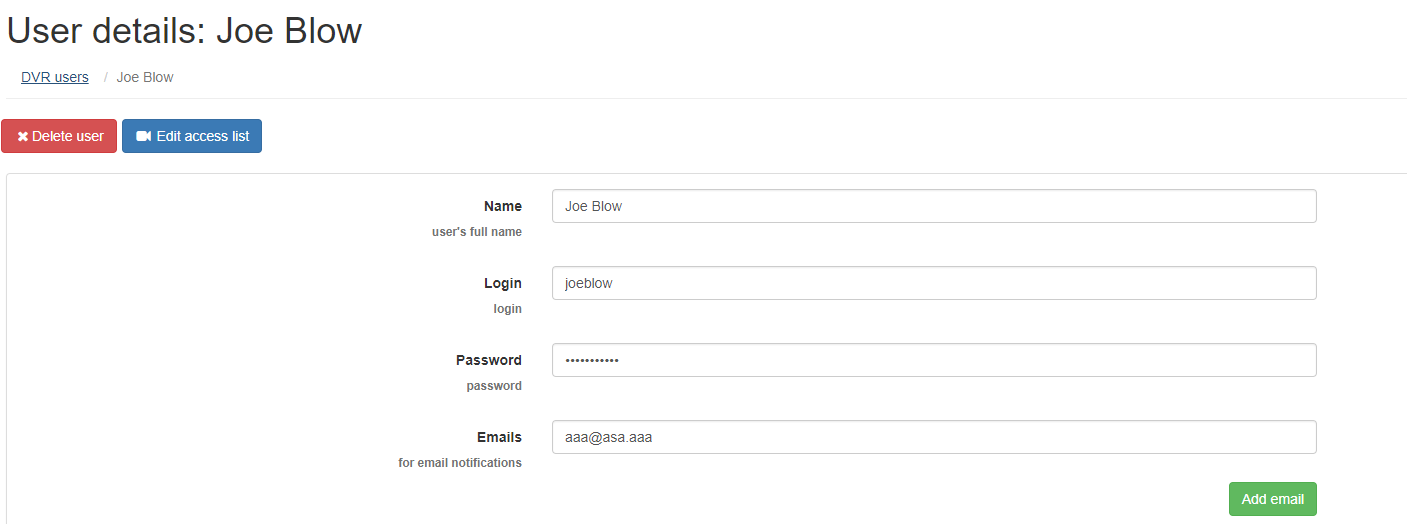
Click ‘Edit access list’
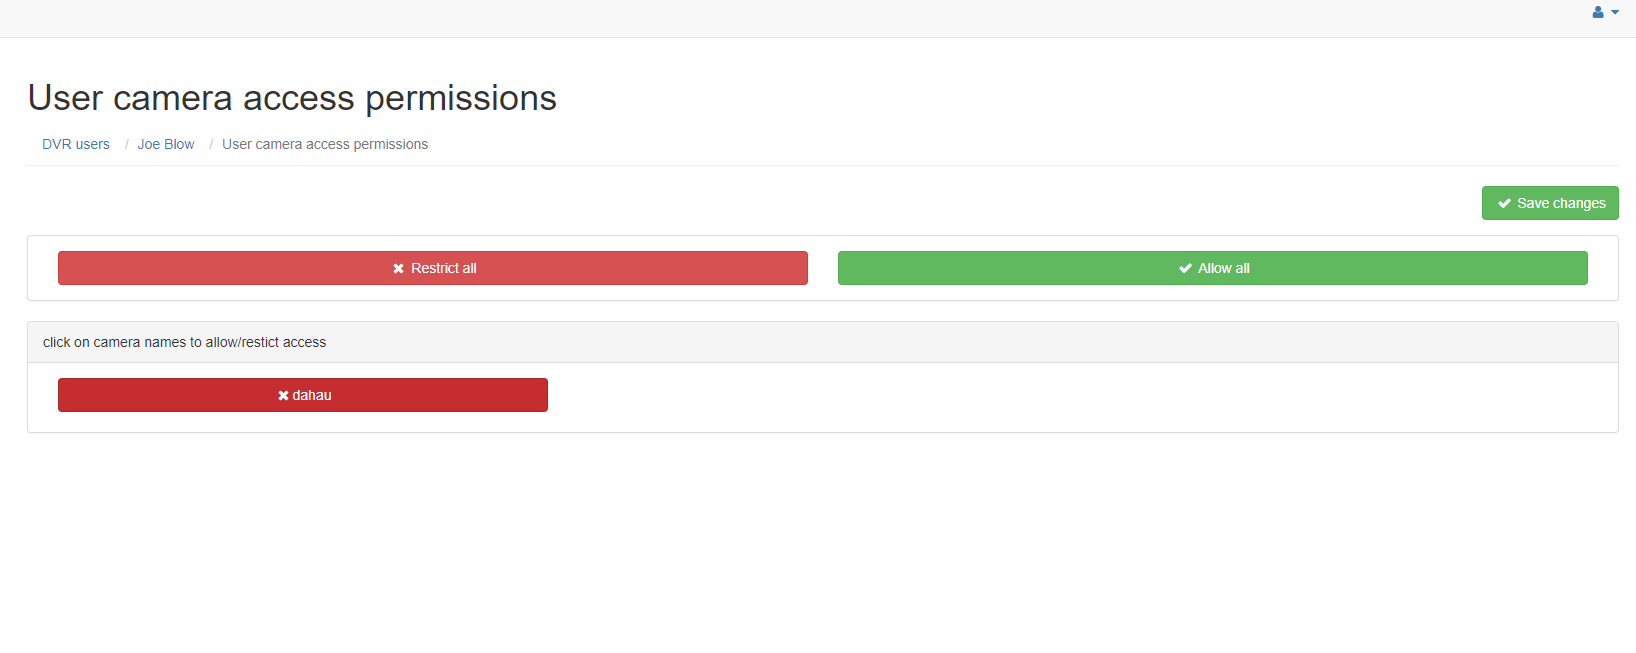
**By default Joe Blow has access to all cameras. We do not want him to have access to cameras, simply click on the camera name. This will change the color of the camera from green (full access) to red (no access). Joe Blow will not see the camera in the available video devices, or in the event / search area. Changes are applied instantly. **
System logs
**Select ‘System Log’ from the left menu bar ** .. image:: img/systemlog-select.png
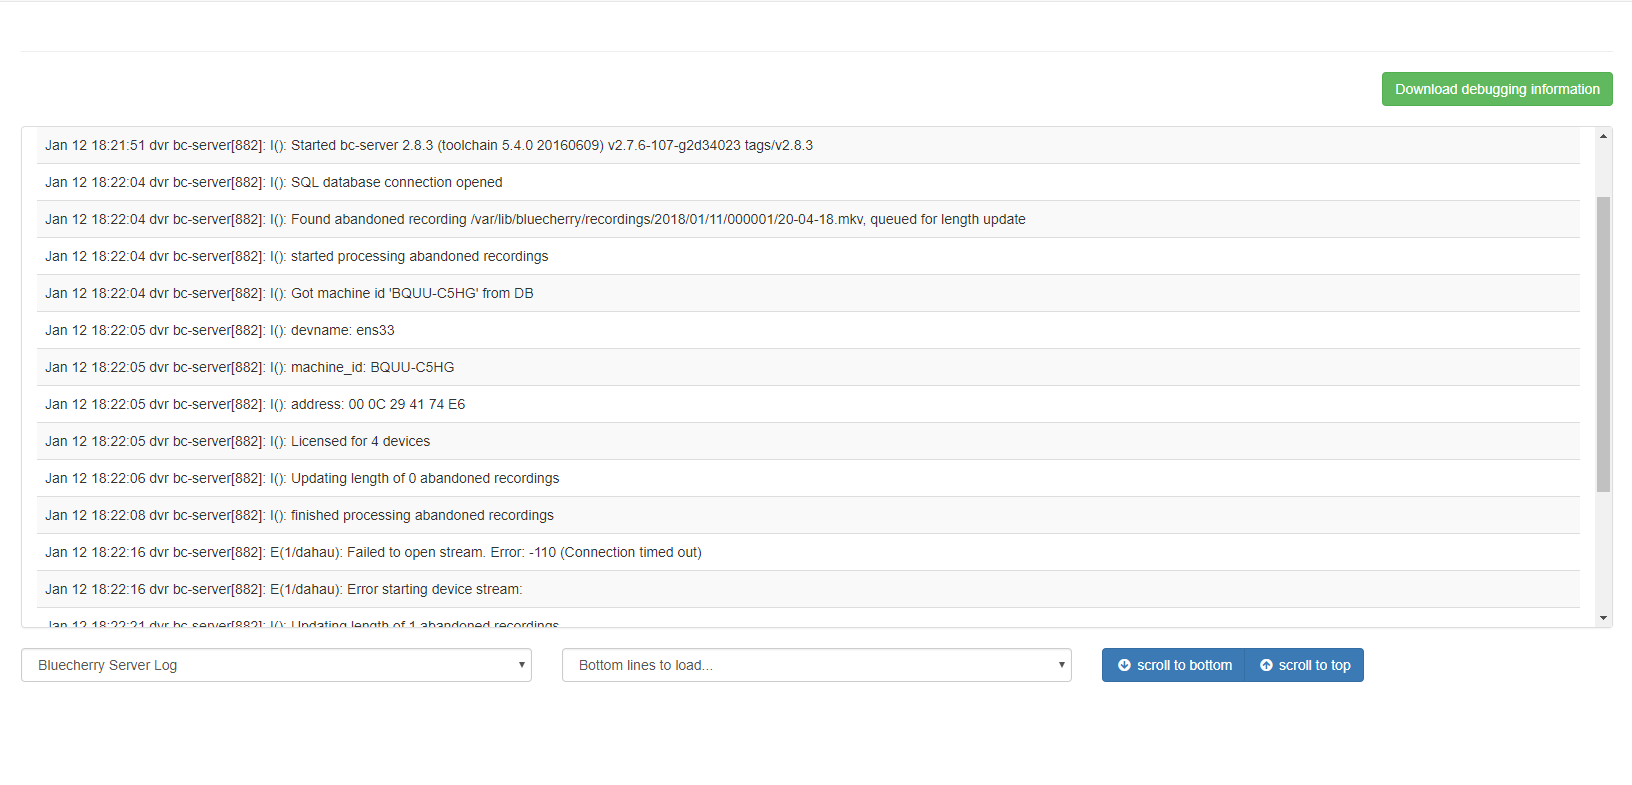
This log shows everything that has been logged to /var/log/bluecherry.log and to /var/lib/bluecherry/www-error.log Note: These logs is randomly rotated, so it will likely not contain all of the logs since the server has started.
Admin password reset procedure
In case you’ve lost or forgot Bluecherry server Admin password, you can change it to default in database.
mysql -u bluecherry -p bluecherry -e "update Users set password='b22dec1d6cfa580962f3a3796a5dc6b3', salt='1234' where username='Admin';"
This resets the login to Admin and the password to bluecherry
